
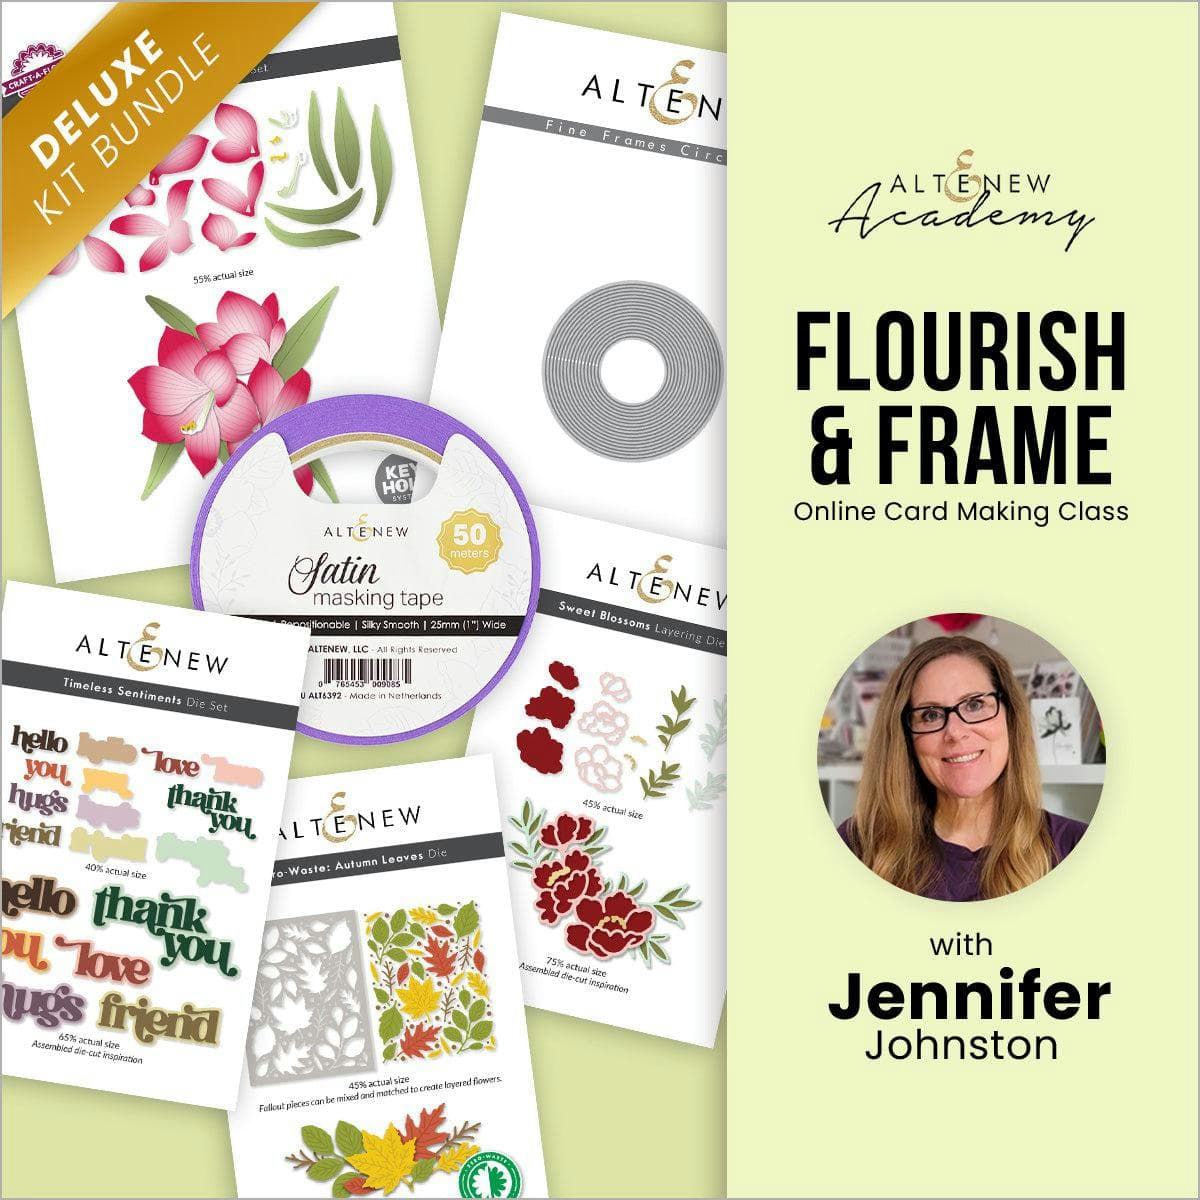
This is my last class for Level 1 of the Altenew Academy – Irresistible Inking Techniques.
I went through the entire course – watched the videos, and analyzed the the inspiration projects, but then I went back and read the first line of the course introduction; “Stretch the purpose of your ink pads! Learn how to give new life to them by thinking outside the box.” and it hit me. I wanted to take my ink cubes and create what appears to be brush-paint marks on my panel. Make it look like unfinished brush lines. Well, that didn’t work out. I tried different colours. I tried masking to create a more polished look, but I didn’t like how any of it looked, so, I kept it simple using the same idea but with one colour.

I took my inks and create lines and circles for the background on my panel – taking my ink pads directly to the paper. I kept the stamping simple with black impressions, but also added a little extra detail with some die cutting.
Supplies
- Altenew Dye Inks – Pink Diamond, Citrus Burst, Mountain Mist
- Dainty Bouquet Stamp
- Altenew – Remember This Stamp Set – Stem
- Altenew – Antique Roses – 3rd Rose Layer and 2nd Leaf Layer
- Altenew – Wavy Roses – Sentiment
- Altenew – Dies – Fine Frames Circles
- Altenew – Dies – Fine Frames Rectangles
- Avery Removable Labels – to create a circle stencil
- Waffle Flower Crafts – Nesting Circle Dies
- Memento Dye Ink – Tuxedo Black
The Cards
I’m going to present these cards in the order I made them.
Card 1 – Mountain Mist
For the first card I used Altenew’s Mountain Mist cube ink and dragged the ink pad across the card panel. I had no real plan here other than dragging the ink across the panel a few times. Once that was done I used the base layer of one of the stamps from the Dainty Bouquet stamp set in black ink.


With the fine frames rectangles die I cut the center of my panel. I lifted the large center rectangle with three cut pieces of heavy weight (black) cardstock in the same size.


Card 2 – Citrus Burst
For this card, I used 3 different sized circle dies and cut them out on a temporary label sheet to create a stencil. I put my (DIY) stencil on my panel and took my ink cube and twisted it over the circles. I moved the stencil around my panel and repeated this process to ensure I filled the entire panel. I would have achieved perfect filled circles if I had used a blending brush, but that’s not what I was looking to create. By using the ink cube to fill in my circles, I got imperfect circles yet beautiful.
I used the same stamp as card 1 and created a solid black impression.


Using the same die technique as I did for the first card, but with the fine frame circle die, and offset to the right-lower corner, and lifted the center circle with black cardstock.
I took the same dye ink and covered the edges of my base panel for my border.


Card 3 – Pink Diamond
This idea came to me just as I had finished my second card. I had an idea to use one of the rose layers from the Antique Roses stamp set and create a flower. I used one of the leaf layers, but had to find a stem from another set.
For this card, I didn’t have an ink cube for the colour I wanted to use, but a large oval ink pad. I took the top edge of the oval ink pad and ran it across my panel, which created thinner lines than the cube did. Again, using black ink, I stamped the layers from 2 different stamp sets to create my flower.


I have never used my ink pads like this before and I love the finished cards. So simple – with beautiful colours with so much interest on each card. I could easily create my own patterned paper with this technique.
So that’s it for the class AND the level 1 courses of the Altenew Academy. I believe there’s a final project for this level and then I can move onto Level 2.
Watch this space, peeps!!
3D Words AECP Level 1 AECP Level 2 AECP Level 3 Alcohol Inks Alphabet Die Altenew AltenewAmbassador A Place to Start Bird Blending Cardmaking CAS Challenge Christmas Class Copics Crepe Paper Crepe Paper Flowers die-cutting Die Cuts Die Cutting Distress Oxide Inks Flowers Foiling FunFold Heat Embossing Hop Hot Foil IG Hop Ink Blending Markers Masculine Card Masking Papercraft Business Pink Ink Designs Poppies Shimmer Simon Says Stamp Slimline Stamp stamping Stencil Watercoloring ZIG Real Watercolor Brush Pens
You might also like


2 Comments
LOVE LOVE LOVEEEE!!! These are brilliant!!!
Thank you so much for submitting your fabulous work to the AECP assignment gallery.
[…] This is another class down. Catch you at Irresistible Inking Techniques […]