I’ve created so many cards for this class, I think I’m a bit layered out! Whew. Seriously. But this is my own fault, as so many just didn’t seem right and I would start over again. For my submission card, I decided to use the bouquet I created cause I LOVE bouquets. 😁
For this class, the instructor used stamping blocks for the layers. This is something I haven’t done yet, as I always use a stamping platform; but watching the instructor and seeing the results, it’s a process would like to work on.


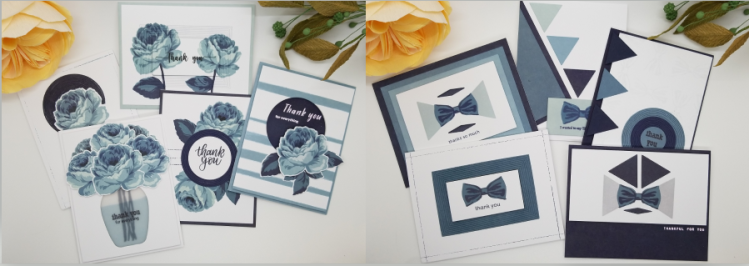
The pic below shows a few of the panels I created, and these are just the ones I did a couple weeks ago, and don’t include the ones I created before them. That’s how much time I’ve put into this layering.

Here’s one I finished. It’s not bad, and I love the detail the one layer gives on it’s own as part of my background.

Lets move on to my submission card.
Supplies
- Altenew’s Antique Roses Stamp and Die Set
- Simon Says Stamps – Look for the Rainbows Stamp and Die Set (stems only)
- Altenew Dye Ink s – Magenta, Rubellite, Puffy Heart, and Pink Diamond
- Gina K Dye Inks – Fresh Asparagus, Jelly Bean Green, Applemint
- Happy Birthday Tag Sentiments with Coordinating Die
The Card
For this layered card, I pulled out my Stamperatus again, as I had multiple flowers to make.
In the picture below, you’ll notice the distressed background. This was an accident while cleaning one of my stamps. The ink on my cleaning wipe touched my panel, and the ink on the wipe transferred to my paper. Instead of starting over I just transferred more ink all over my panel and used this unfortunate oopsie for my background.

I pulled the Look for the Rainbows stamp and die set for the stems, and used copic markers to color them in. I glued 4 of the stems to my panel and raised 2 of the stems. I poked holes in my panel in order to add my string around my bouquet stems.
Finally, I stamped and cut my sentiments and strung them to my stems.

So it’s time for me to move on to the next class. I’m a bit of a stickler for order, so the next card for AECP will be for the next class on the list – Clean and Simple Boutique Cards. See you there.

3D Words Acetate AECP AECP Level 1 AECP Level 2 AECP Level 3 Alcohol Inks Alphabet Die Altenew Blending CardKit Cardmaking Challenge Christmas Copics Crepe Paper Crepe Paper Flowers Design Team Die Cuts Distress Oxide Inks DIY dry eraser Foiling glider Glitter Hop Hot Foil IG Hop Markers Masculine Card PanPastels Papercraft Business Peonies Pink Ink Designs Silhouette Designs Simon Says Stamp Sizzix Slimline Stamp stamping glider Stencil Storage and Decor Vinyl Watercoloring ZIG Real Watercolor Brush Pens


Absolutely gorgeous!! I love this! I have created a similar card, you will see it next month 😉
Thank you for submitting your gorgeous work to the AECP assignment gallery
LikeLiked by 1 person
Thanks Erum!!
LikeLike
I just saw this on your latest post and I just had to comment. Absolutely gorgeous!
LikeLiked by 1 person
Thank you so much, Marisela! 😁
LikeLike