
All right! I made it! This is my final project (and post) for AECP (Altenew Educator Certification Program) Level 3.
This will be a long post, as there’s a lot to get to, so lets get started.
What is the AECP?
The AECP is something I started in late 2020…I know, I know, you’re thinking ‘almost 3 years to complete this!’ For me, yes. This program is self guided and participants can move at their own pace. This was perfect for me, as I only craft one day a week due to working full time and having other hobbies.
We’re here today, as I have completed the AECP, and this is my final challenge. You can even call it a test, so to speak. There are 3 levels to the program with each level containing multiple courses to challenge yourself on specific techniques. I’m at the end of level 3, and this is my final project.
These courses provided me with the opportunity to acquire new knowledge and develop valuable skills with my crafting. I’ve improved my crafting skills more than I thought possible. I’m much better at understanding what I need in order to complete a project, such as supplies and tools. You’re probably thinking this is obvious and simple, and it is. When I started the program I spent so much time setting up and thinking about what I was to going to do I would spend less time creating. I’ve learned new techniques and become far more experienced with techniques I was already utilizing. There are other contributors to this, but this program was a huge part of it.
Level 3 Final Project
Now we’ll get into the nuts and bolts of this final project.
I was tasked with holding a 2hr workshop, in person or virtually, showing and teaching techniques of my choosing. I decided to host a virtual project, and use die cutting as my main technique, with dye-ink smooshing, and dye-ink watercoloring as secondary techniques. I was required to create 2-3 cards during the 2hr workshop. This was the hardest part about the challenge – creating 2-3 cards while teaching techniques in a short amount of time.
Lets break it down:
- 2hr workshop – virtual
- demonstrate a technique or techniques with 2-3 cards
- create a lesson plan for approval and distribution
- must have 4-10 participants
- Distribute lesson plan to participants
- once workshop is complete create a post about the workshop, and AECP with photos from participants
There was a bit for a learning curve to working with Zoom, more so the live streaming, which I’ve never done before. I spent hours setting up my DLSR camera, purchased some cords to make it work, but, unfortunately, the camera would turn off in about an hour due to heat. I used my smartphone to stream and it worked out well. I’ve already purchased a new camcorder for streaming and recording, as this was something I was going to do eventually anyway, so learning to host and the technology behind it was definitely not wasted.
Preparation is key to making this a successful workshop, and I feel like all those virtual retreats likely assisted with ensuring I was ready for this one. I’ve always made a point to be prepared for Altenew’s retreats, and this workshop was no different.
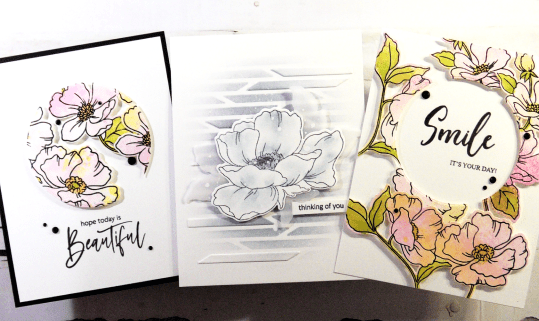
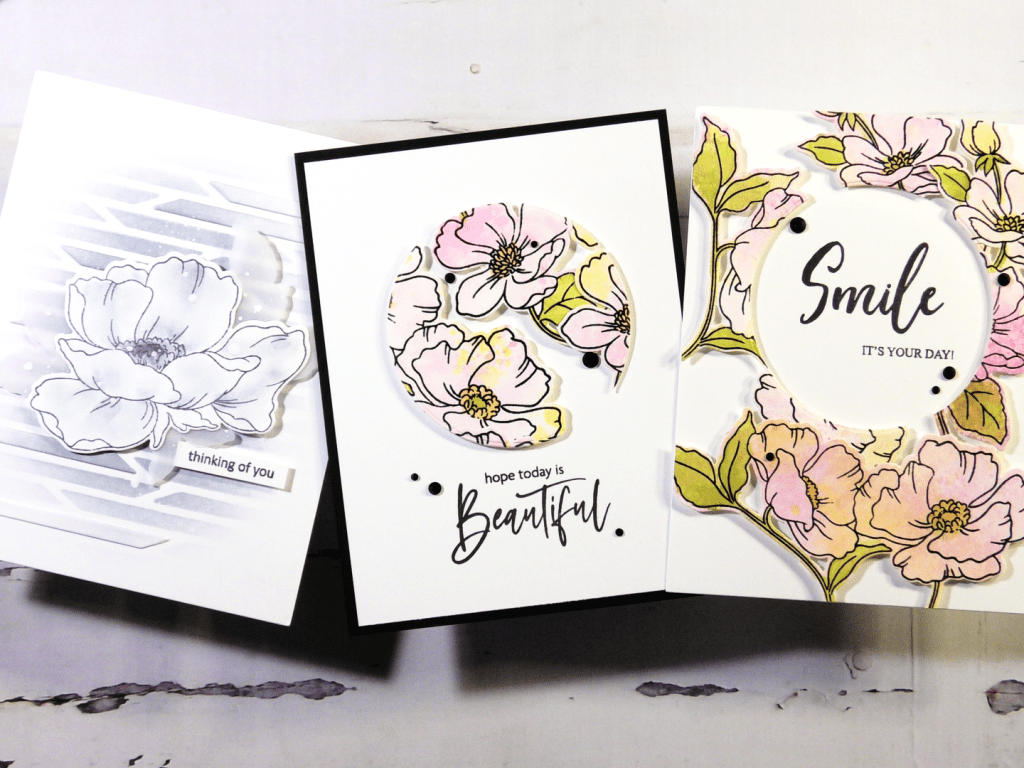
Project Cards
Lets get int othe details of the project cards and show what the participants created. The participants did such a great job on the projects. I love seeing what they did with the techniques in this workshop.
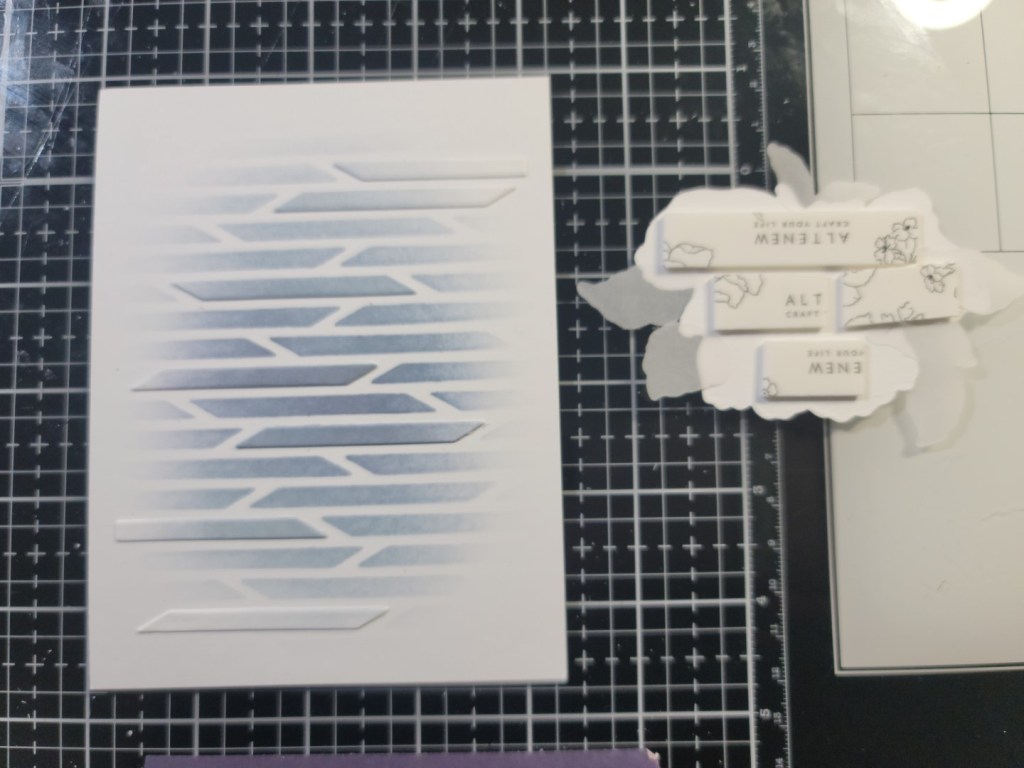
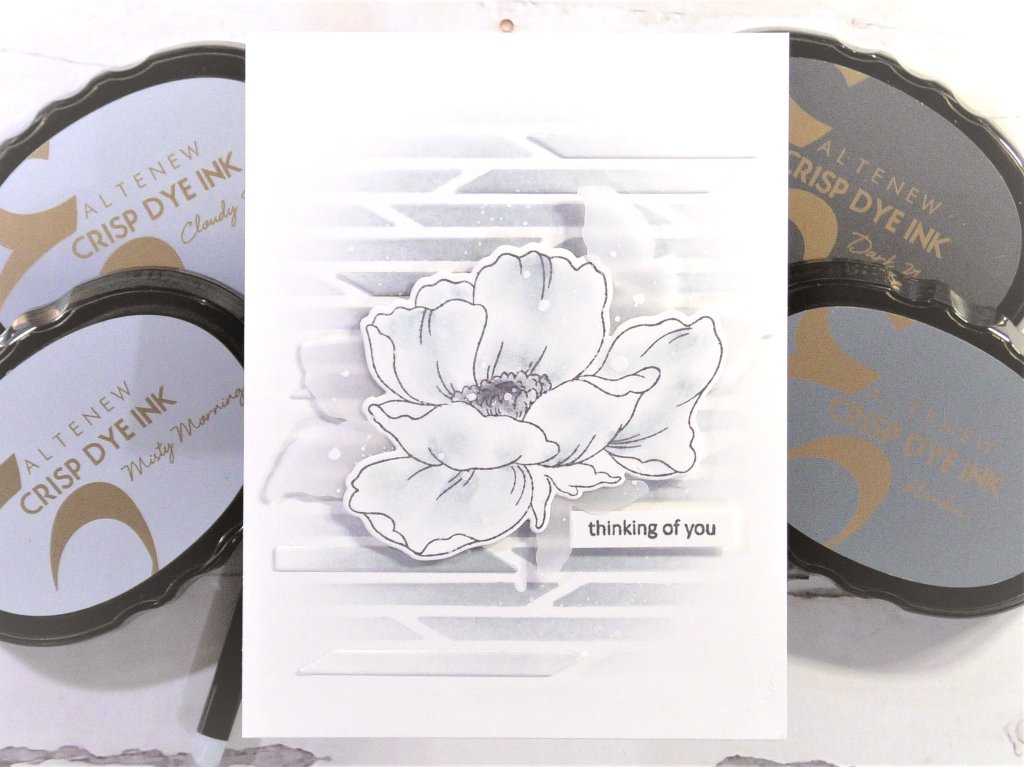
Card 1
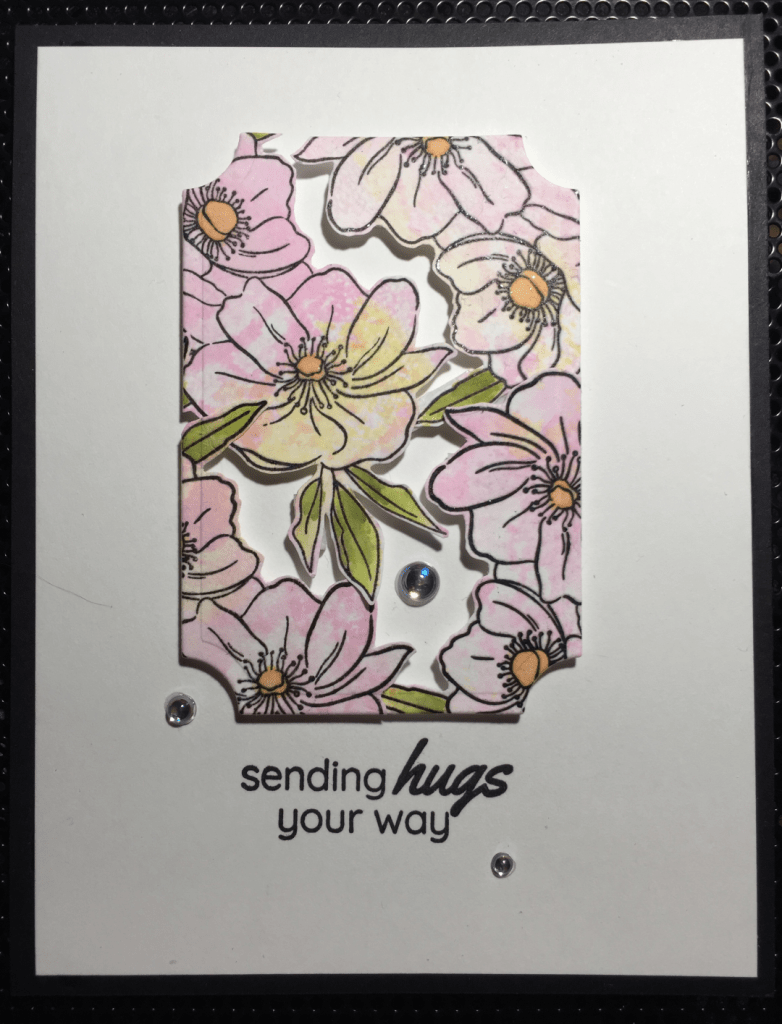
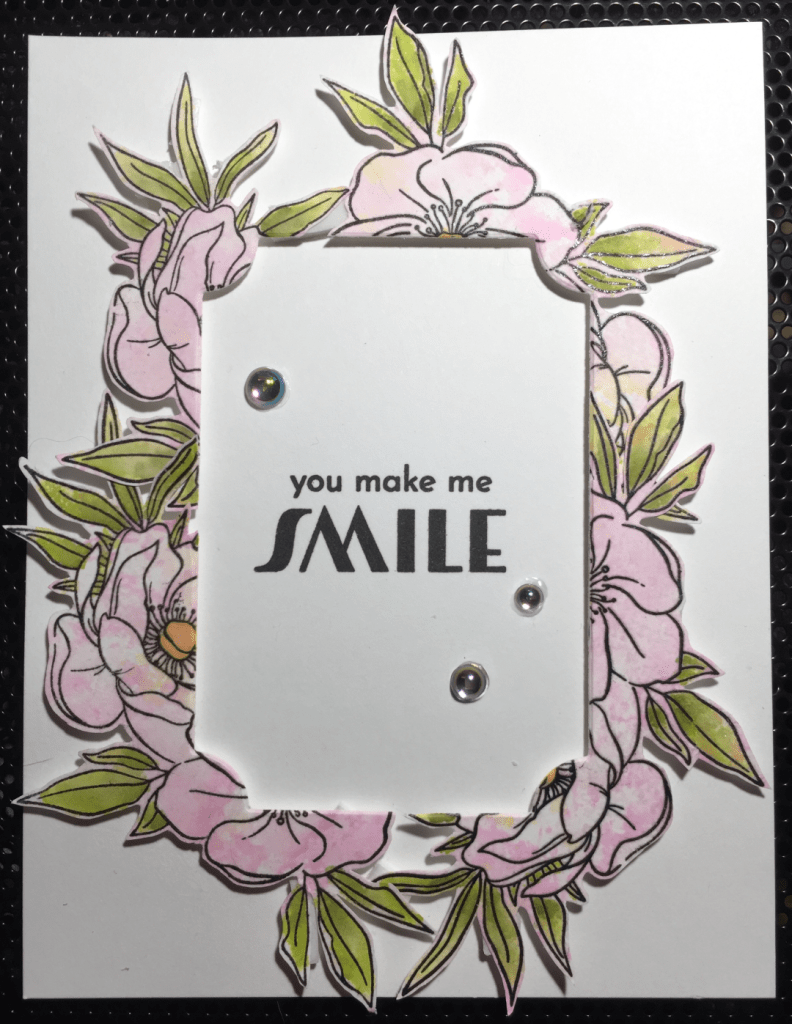
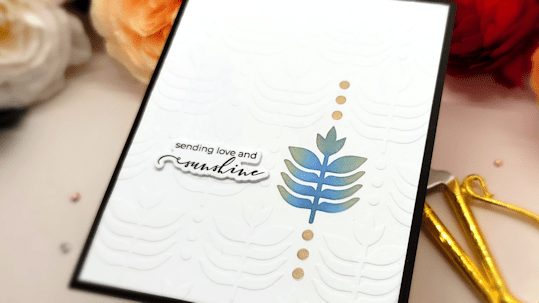
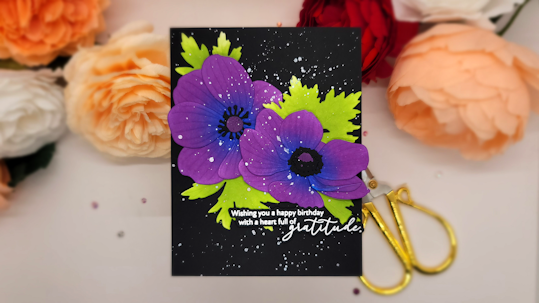
The first card was about taking your background dies to a new level by using the die cut as a stencil, and using inlay die cuts to add dimension and interest. The secondary technique was creating a card with monochrome colors. Altenew’s Tranquility Die Ink bundle was perfect for this project. Using the largest flower from the poppy stamp and die set, we stamped the flower in the darkest color from the Tranquility set. Using a detailed blending brush, we highlighted the flower to create shadows using the 3 remaining colors from the ink set. The stamped flower was die cut, and the leaves were die cut with vellum and adhered to the back of the flower. The flower and leaves were adhered with foam tape, and we finished off the card with white splatter, and a small and simple sentiment.
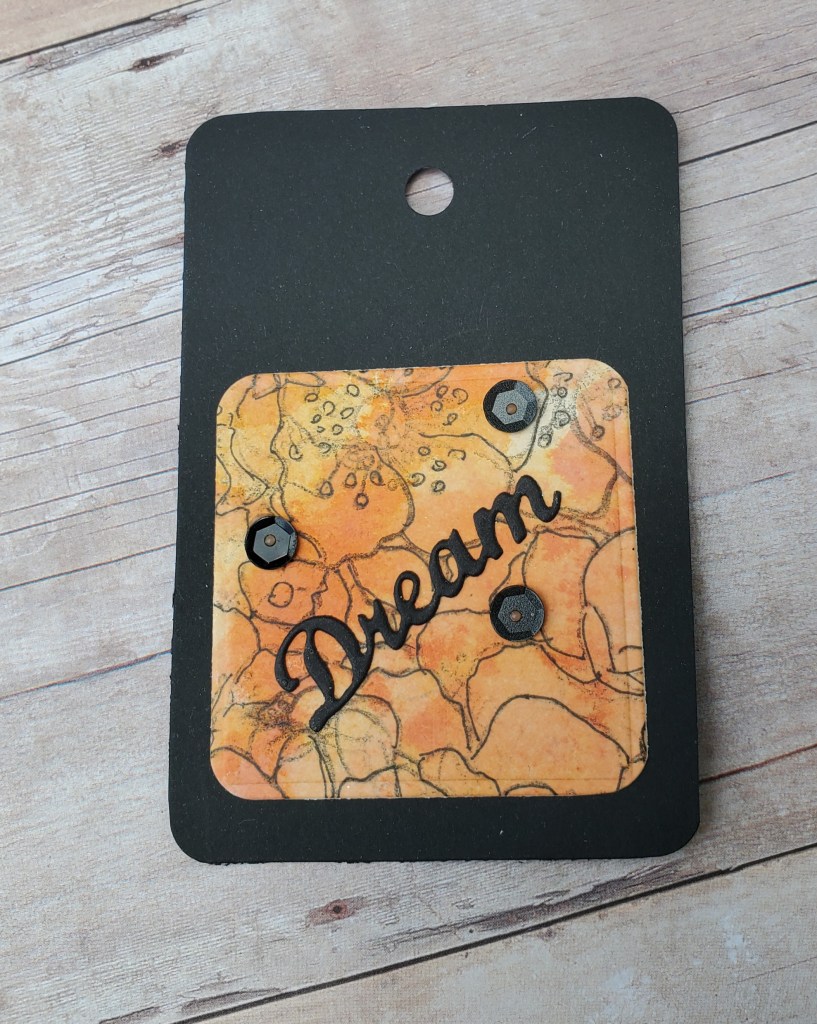
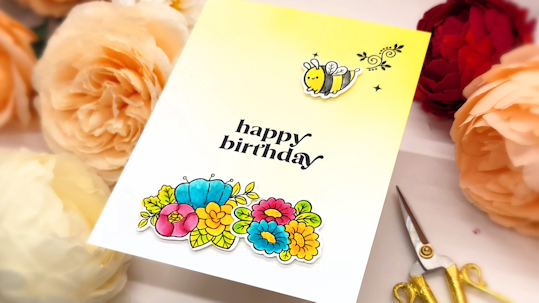
Participant Cards


Card 2 & 3
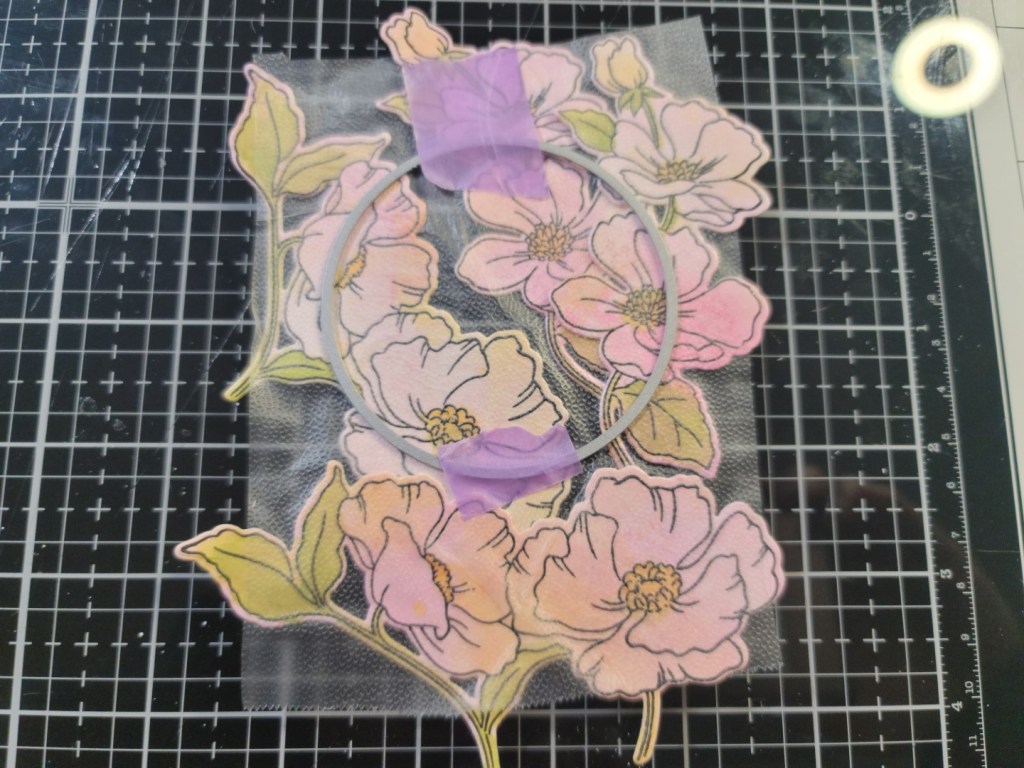
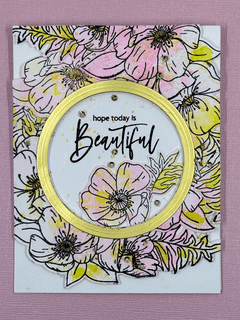
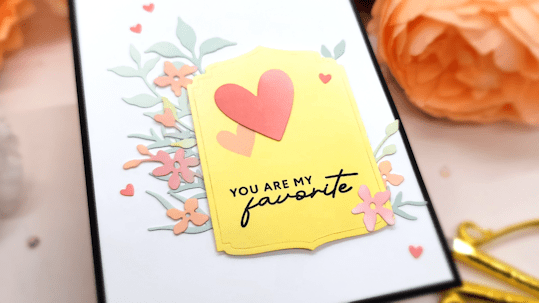
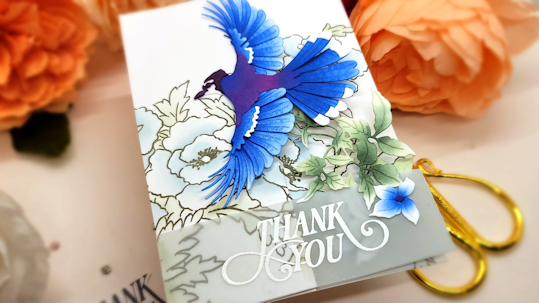
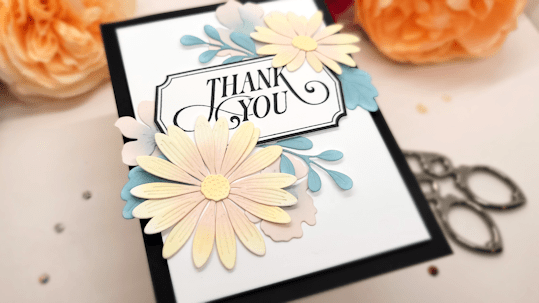
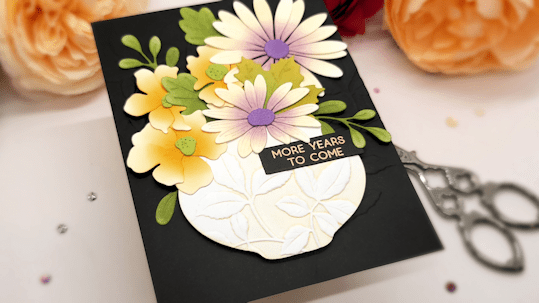
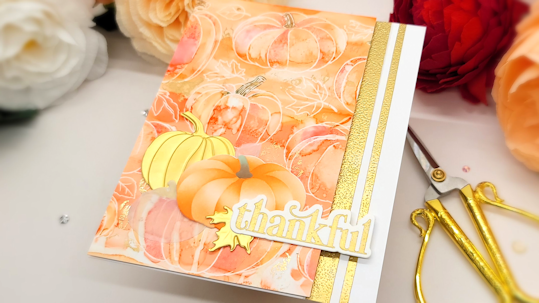
Both cards, 2 and 3, were created together, and by using a circle die on die cut flowers, we can use both pieces to create 2 cards. As I mentioned earlier, die cutting is the main technique for this workshop, and for these 2 cards, the secondaray techniques are dye ink smooshing, and dye ink watercoloring.
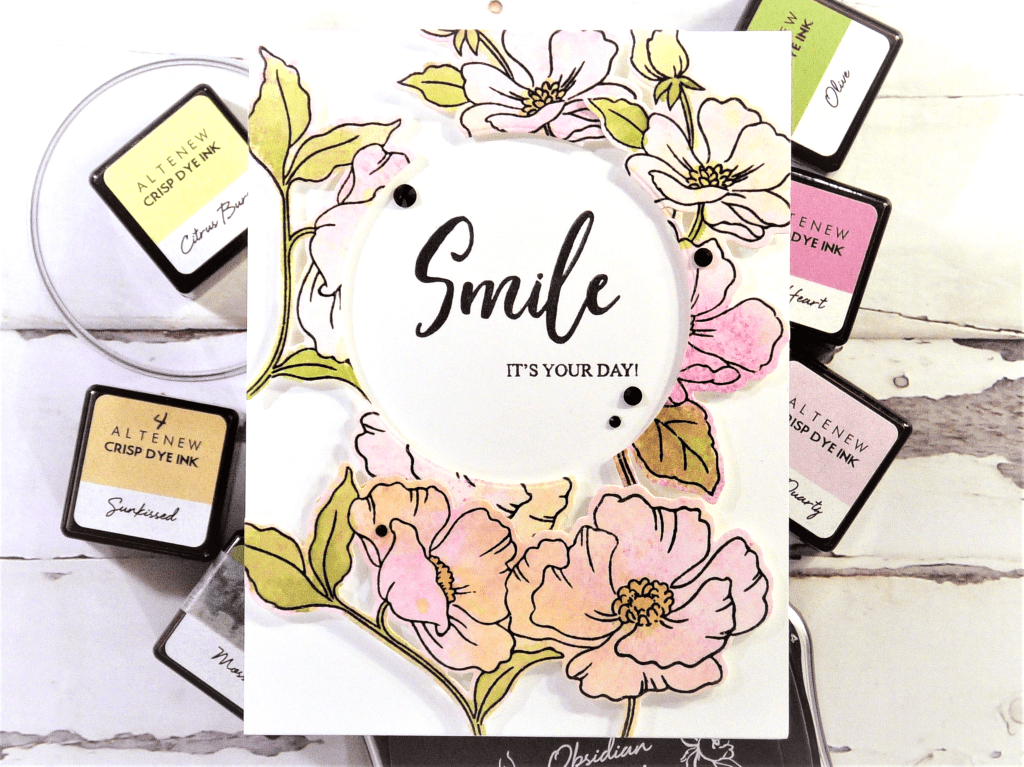
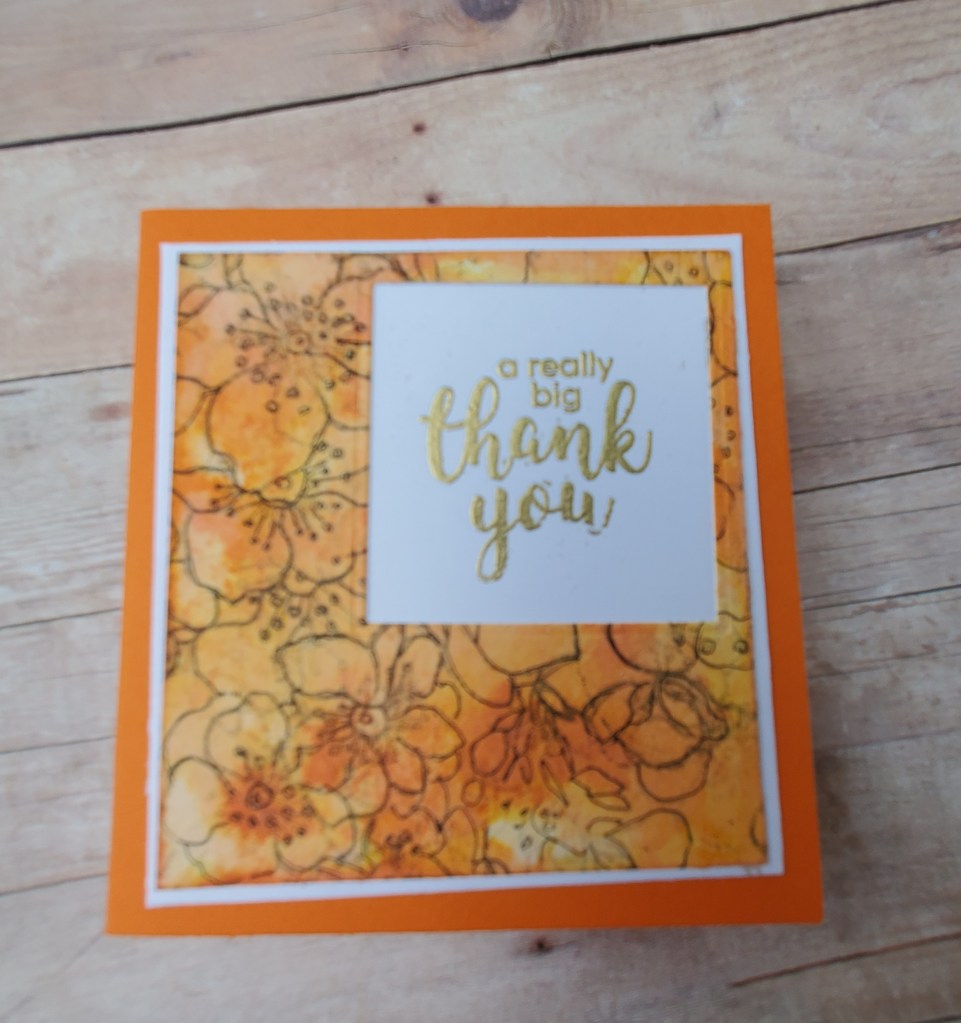
First we’ll put down ink onto a non porous surface, add water and ‘smoosh’ our (watercolor) paper on top. We’ll start with the darkest color first, then smoosh with a lighter shade to cover the entire panel of watercolor paper. Once we’re happy with the coverage of color of our paper, we’ll then smoosh yellow, but do this sparingly, as to only add some highlights. I should also note, the paper was heat dried before moving to another color. Using a heat gun to dry in between colors helps to minimize ink mixing, and keep the paper dry as we move forward for heat embossing. Clear embossing powder will be used for the stamped flowers with obsidian black ink.
Use Olive, Moss, Sunkissed, and Citrus burst dye inks on a non-porous surface with water to add additional color to the leaves and center of the flowers with a paint brush.
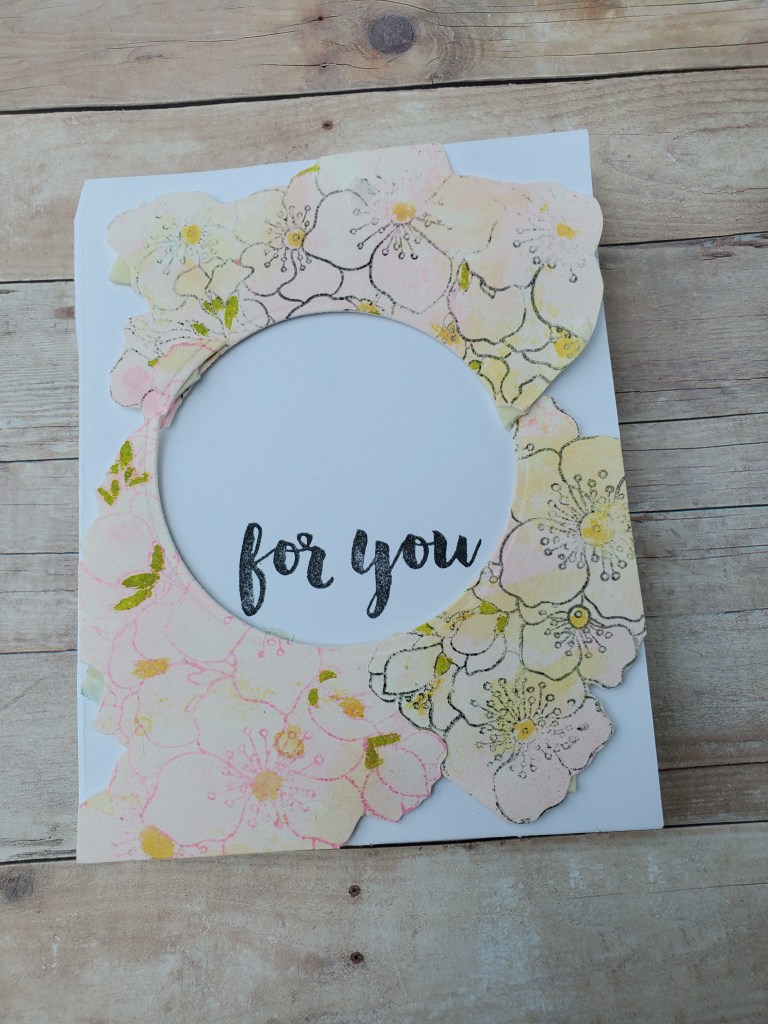
The flower images will be die cut and placed on top of card panel, and positioned in a way to cover as much as the card panel as possible. Cover with press and seal and remove the card panel.
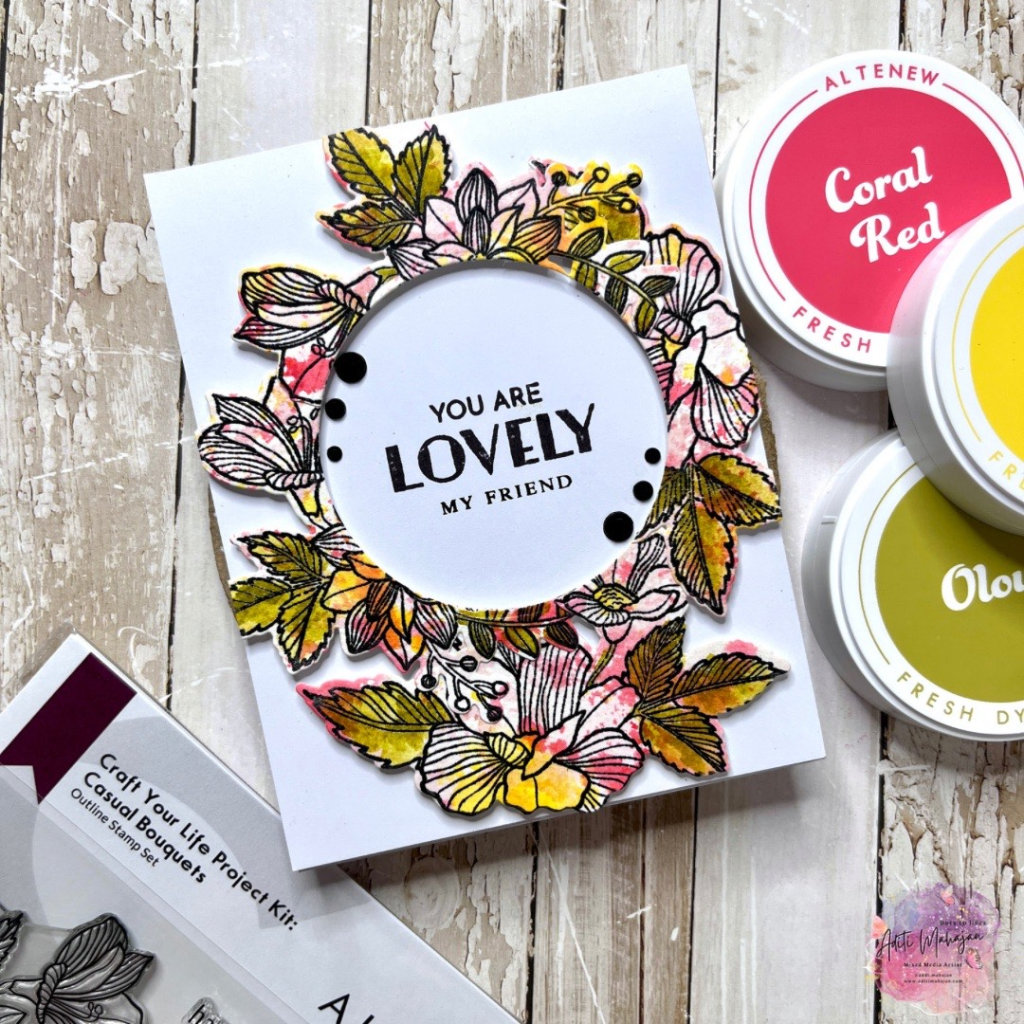
Using a circle die, die cut the flower die cuts, which will give us a circle die-cut and the outer part of the circle die. We will use each piece on their own card panel, which will be adhered with foam tape for dimension.
There’s a lot of steps to these cards but they’re simple and easy to do.

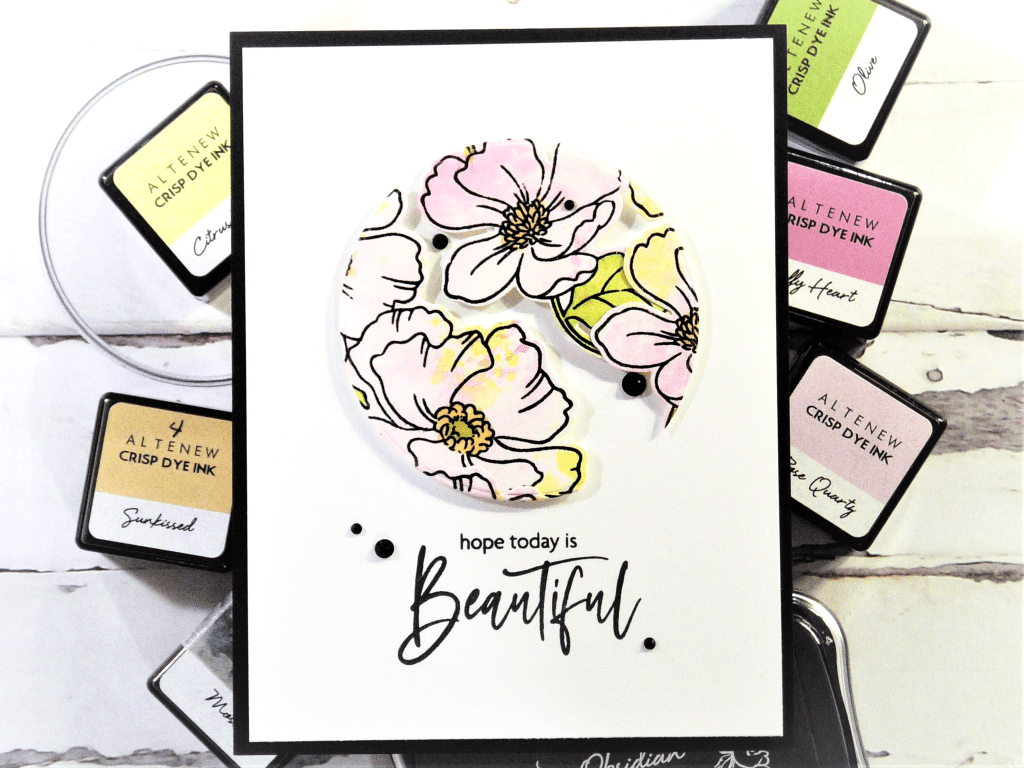
Card 2
Participant Cards
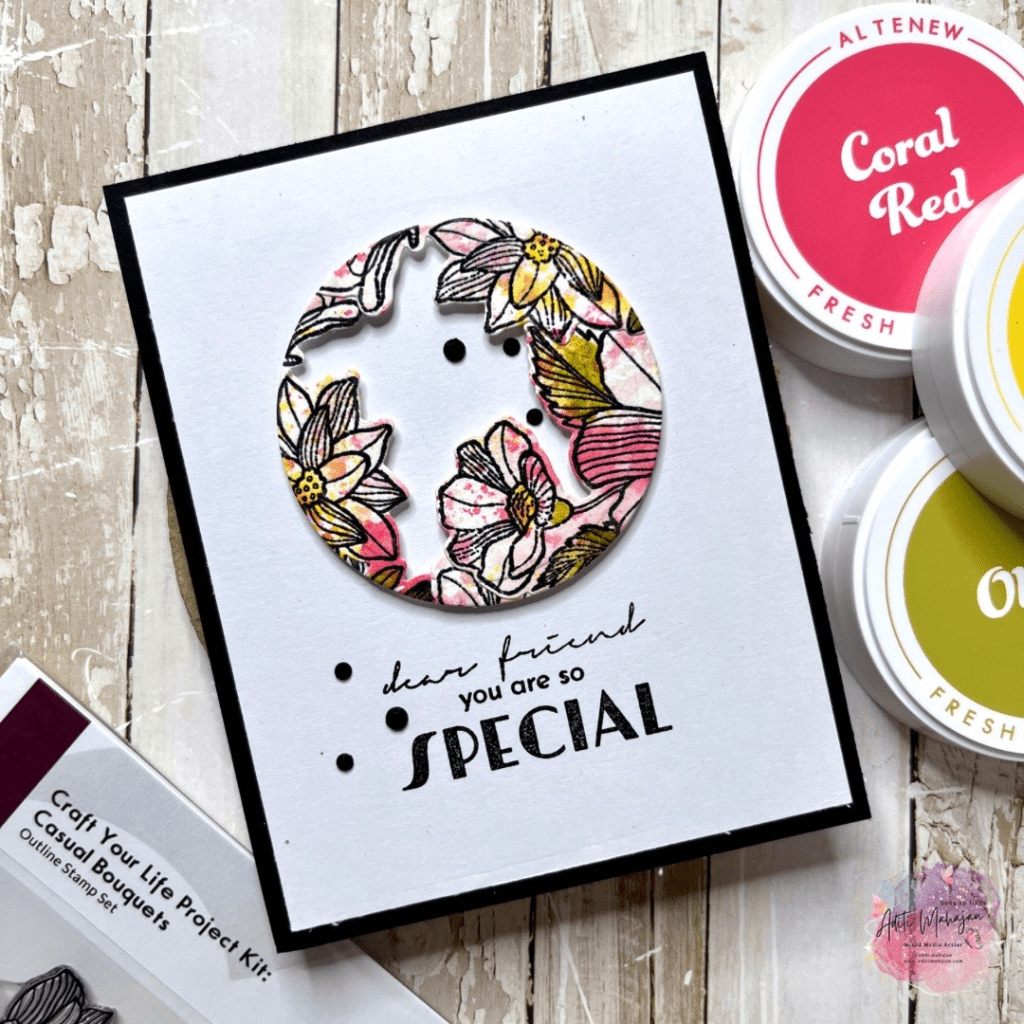
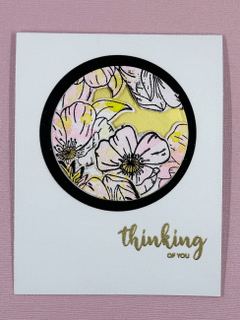

Card 3
This has been an amazing journey, and look forward to the next chapter with Altenew.
Supplies


I only recommend products I would use myself and all opinions expressed here are my own. This post may contain affiliate links that at no additional cost to you, I may earn a small commission.
3D Words AECP AECP Level 1 AECP Level 2 AECP Level 3 Alcohol Inks Alphabet Die Altenew Blending CardKit Cardmaking Challenge Christmas Copics Crepe Paper Crepe Paper Flowers Design Team die-cutting Die Cuts Distress Oxide Inks DIY dry eraser Foiling glider Glitter Hop Hot Foil IG Hop Markers Masculine Card PanPastels Papercraft Business Peonies Pink Ink Designs Silhouette Designs Simon Says Stamp Sizzix Slimline Stamp stamping glider Stencil Storage and Decor Vinyl Watercoloring ZIG Real Watercolor Brush Pens


One thought on “Die Cutting Techniques – AECP Level 3 Final”