Hello crafty friends!
It is wonderful to be back sharing another handmade creation with you today. There is something so special about capturing the beauty of nature on paper, and for today’s project, I followed @Carolin Rieger instructions for a fun fold card with stamps and die cuts. I don’t have the same products, but I do have a new die set I had to use. I was inspired by the brilliant colors of a blue jay taking flight. I wanted to create a card that felt airy and full of movement, with a bold focal point against a softer backdrop.
Let’s dive into the details of how this card came together.
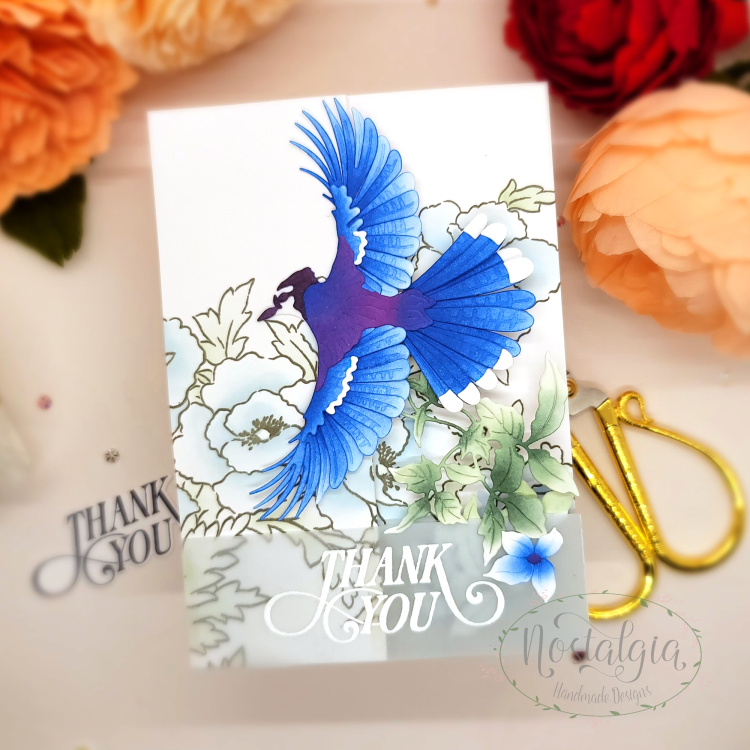
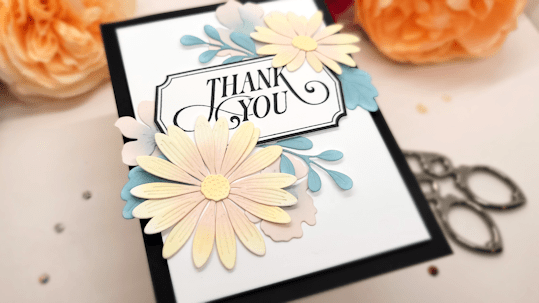
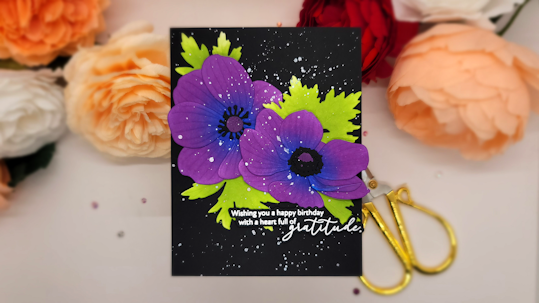
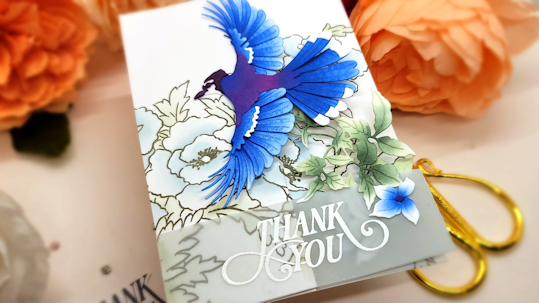
To begin, I focused on the star of the show: that magnificent blue jay. I love using layered die sets because they effortlessly build dimension and texture. I cut the various feather layers from plain white cardstock first. To bring the bird to life, I used a combination of ink blending in various shades of blues and the Midnight Violet on the body. By varying the intensity of the ink on different layers, the wings really gained a sense of realistic depth once assembled.
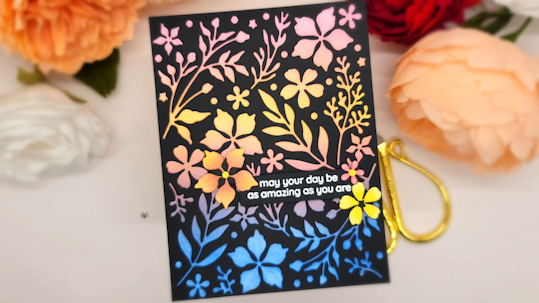
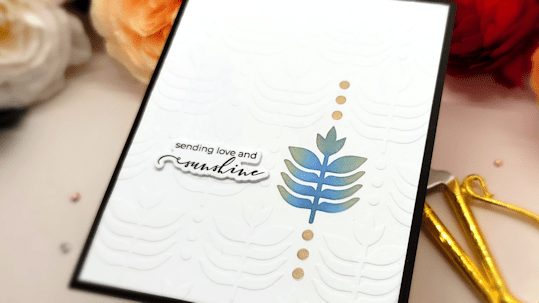
For the background, I wanted to keep things ethereal so the bird would really pop. On a standard A2 sized panel of white cardstock, I lightly added a delicate floral outline pattern using a very pale, soft blue-green inks. It provides just enough interest without competing for attention.
Taking photos of a fun fold does not work well for me, so here’s a nice video to show you the opening and closing of the fun fold. You’ll also notice in this video, I’m thinking about using a die cut out of white cardstock to cover the heat embossed sentiment.
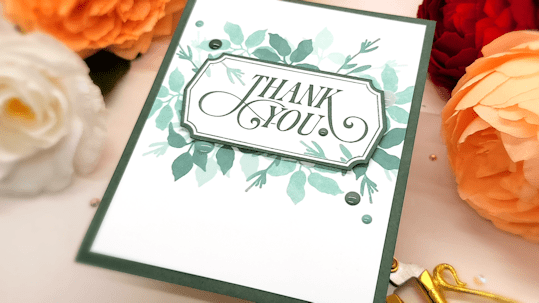
I arranged a cluster of die-cut leaves (from Feathered Beauty Layering Die Set) in muted greens at the bottom right corner. For the sentiment, I didn’t want to cover up that lovely background entirely, so vellum was the perfect choice. I heat-embossed the elegant “Thank You” script onto a strip of heavyweight vellum using opaque white embossing powder. This was added to the lower part of the card panel, adding a soft, frosty layer.
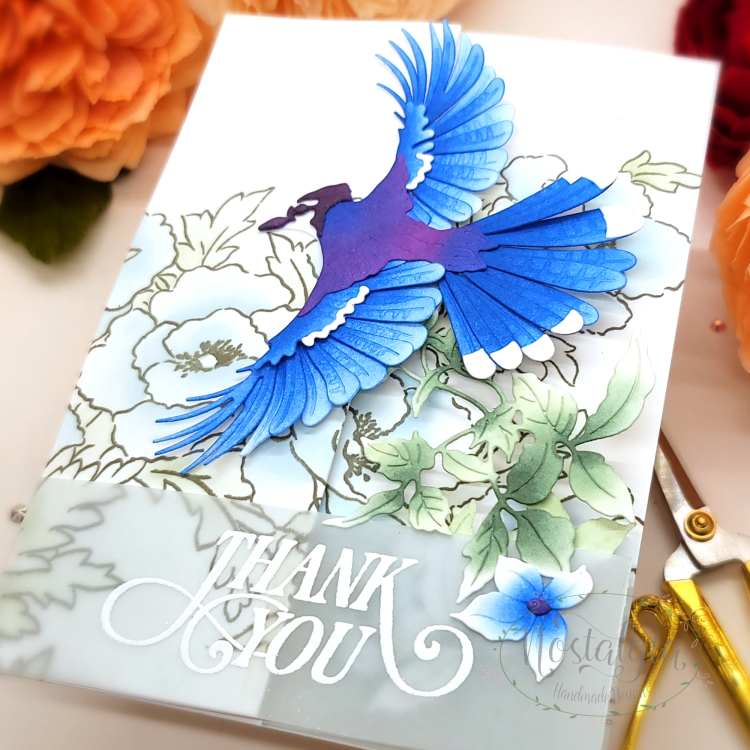
I am so pleased with how the vibrant blues contrast with the delicate background elements. It truly feels like a frozen moment in nature.
I hope you enjoyed today’s project and that it inspires you to add some layered dimension to your next creation.
Happy crafting!
I only recommend products I would use myself and all opinions expressed here are my own. This post may contain affiliate links that at no additional cost to you, I may earn a small commission.
3D Words AECP Level 1 AECP Level 2 AECP Level 3 Alcohol Inks Alphabet Die Altenew Blending CardKit Cardmaking Challenge Christmas Copics Crepe Paper Crepe Paper Flowers Design Team die-cutting Die Cuts Die Cutting Distress Oxide Inks dry eraser Foiling glider Heat Embossing Hop Hot Foil IG Hop Ink Blending Markers Masculine Card PanPastels Papercraft Business Peonies Pink Ink Designs Silhouette Designs Simon Says Stamp Slimline Stamp stamping stamping glider Stencil Storage and Decor Vinyl Watercoloring ZIG Real Watercolor Brush Pens